What you need:
All the waxes, wicks and scent items are available from a craft shop
Eco Soya Wax
Wedo Eco Wick
Metal tab for the wick
Scent (optional)
Scent (optional)
2 saucepans, one small and one large and flat (Make a bain-marie)
2 wooden skewers and some gaffa tape
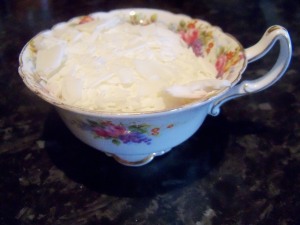
First you measure the wax out. The wax comes in flakes and I fill the volume of my vintage cup up with flakes one and a half times.
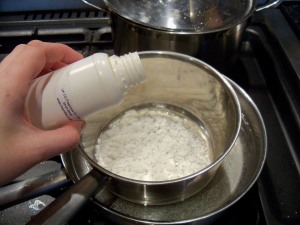
2 – Add to the small saucepan (don’t worry eco wax is water soluble and washes out with some washing up liquid). Place the small pan in the larger pan filled halfway with water and over a medium to low heat gently melt the wax.
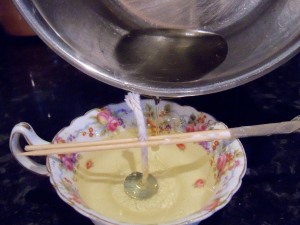
3. Prepare your teacup. Cut a length of wick and pull it through the metal tab (all for sale on the website I gave you earlier). You can buy special metal pins to hold the wicks in place so it remains centered. Being a resourceful so and so though I just used some wooden skewers and taped them closely together as seen below and that works just fine. Now all you need do is pour the wax.
4. Now pour gently…….
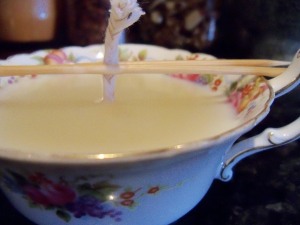
5. Over half an hour the wax will harden, do not move your tea cup candle during this stage.
6. Finally, trim the wick and light!!!!


Bellissima idea voglio tradurre le istruzioni e provare anch'io.
RispondiEliminaComplimenti
Piera
Quella tazzina la adoro... troppo bella. Grazie per il tutorial.
RispondiEliminaGreat tutorial. I am going to try this! Thank you so much!! Gracie
RispondiElimina